Last updated on 2021-02-24, by
Photographers Basics - How to Adjust Exposure
It is like gathering rain in a bucket when you achieve the correct exposure in your shot. However, there are many factors that can affect the exposure, which is hard for photographers to obtain the correct exposure every time. Underexposed and overexposed are common cases when taking photos under different conditions. If you are just wondering how to get perfect photos after you adjust exposure properly, this guidance will be quite proper for you to read. This tutorial will introduce the meaning of exposure and some tips to adjust exposure.
Part 1: Brief Introduction of Exposure
It is not an easy task to truly pinpoint exposure for a better image, for there are so many controls you need to adjust. In many cases, you may be in a hurry to take photos, which will cause improper exposure. Exposure plays an essential role in your camera settings. There are various factors that affect on exposure, such as the way your camera reads exposure, the settings on your camera that you need to apply and etc. Light can influence exposure to a great degree. The natural or artificial light amount that is available to your camera can affect the way your camera deals with exposure directly. If your camera sensor receives too much light, your images will be washed out, while having too little light will leave your pictures left in the dark. ISO, shutter speed and aperture of your camera also have great effects on exposure.
The meaning of exposure seems to be quite complex, but it is worth the effort to learn, which is something you will never stop to improve. As for how to make use of exposure in photography, almost every professional photographer needs to learn. To keep on practicing and the quality of your photos will be better in the long run. One of the key aspects to take a great photo is exposure.
Part 2: 5 Tips on How to Adjust Exposure on Camera
Exposure, to be brief, is the amount of light you let into your camera. In order to get photos with the proper exposure, you can refer to the tips shown here to help you to fix it.
◎ Ensure adequate exposure of the subject
You need to make sure the subject you desire to shoot is exposed correctly and adequately. It is required not too dark and not too bright. You’d better set a background that is proper for photography. You can also set the metering mode of your camera to Spot metering or Center-weighted metering, which allows the camera to ignore overly light or dark areas around the edge of the scene. You can increase your ISO value to let in more light for better exposure. It is important to make use of the shutter speed, aperture, and ISO together to enable your subject to be exposed correctly and adequately.
◎ Adjust exposure compensation
Do you know what exposure compensation is? Actually, the exposure composition really matters for a great photo, which enables photographers to override exposure settings picked by camera’s light meter. For the intention to darken or brighten images before they are shot, you can adjust the exposure composition to meet your exposure demands. The exposure compensation feature of the camera allows you to manually control the image brightness. You need to make sure your camera utilizing the camera meter, such as aperture priority, shutter priority, program mode, or any other “scene” mode that performs automatic exposure adjustments. As for how to use exposure compensation, you need to know that the exposure compensation feature varies by camera make and model, and you can refer to your camera instructions to find it to get better image exposure. After you use it for several times, you will be much clear on what does exposure compensation do in the near future. Have a try and you will become more professional in photography.
◎ Manfully adjust shutter speed or apply Aperture Priority mode
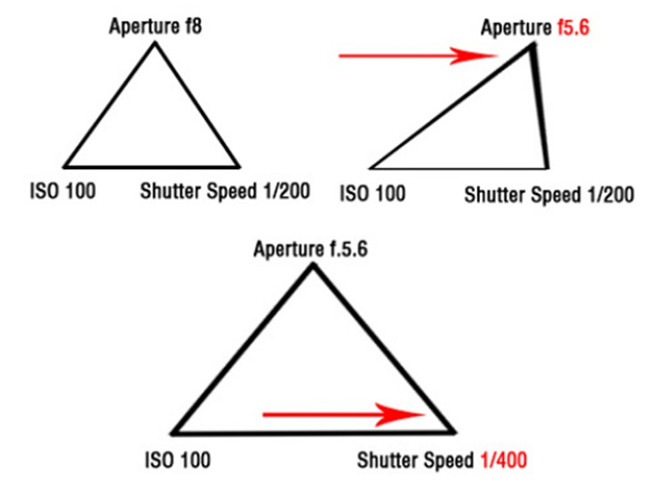
It is a good idea to adjust the shutter speed to modify image exposure. The shutter speed allows you to freeze motion. When the shutter speed is lower, more light will be let in for exposing the image. A lower shutter speed is proper for low light conditions and a higher shutter speed is suitable for bright sunny conditions.
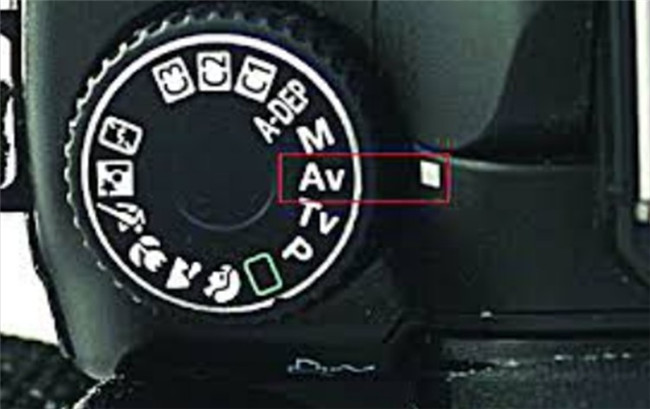
You can also set your camera in Aperture Priority mode when you apply a small Aperture, which can assist you to adjust image exposure to a great degree. Aperture can affect the depth of focus for the image. If you select to shoot wide open, you will let too much light in, which will cause a shallow depth of focus. To choose to shoot closed down, less light will go in and you can have a wider depth of focus.
◎ Use auto HDR mode of the camera
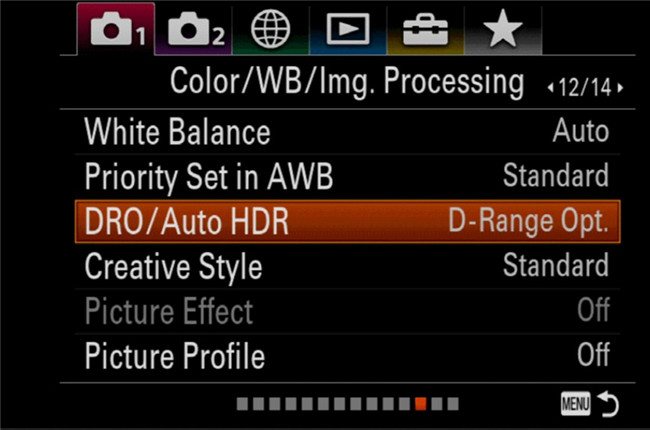
More and more cameras now have been installed the auto HDR mode into systems, which performs quite simple. This mode allows your camera to shoot a bracketed sequence of exposures and then combine them into an HDR photo in an automatic way. As for advanced photographers, they may prefer to shoot a bracket of RAW images and then merge them manually after the fact in HDR software. However, for new users of this skill, auto HDR mode is really amazing way to set off.
◎ Fix exposure via photo enhancers after shooting
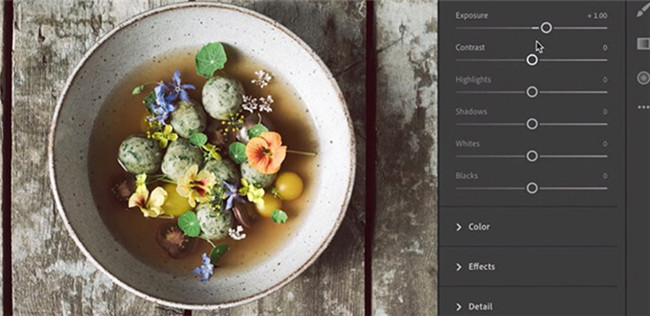
If you find that your photos are poorly exposed after shooting, you can still fix the exposure with the help of a good photo enhancer app. There are various such programs in the market, such as Photoshop, Adobe Photoshop Lightroom, Leawo PhotoIns and etc. These photo enhancers allow you to brighten or darken the whole image, or select key areas to adjust.
Part 3: Part 3: How to Adjust Exposure in Photoshop?
When your subject is underexposed or overexposed, you can resort to Photoshop to fix exposure. It is a professional photo app, which can rescue your images to get balanced exposure. Now let’s begin to take a look at the detailed steps to handle how to adjust exposure in Photoshop.
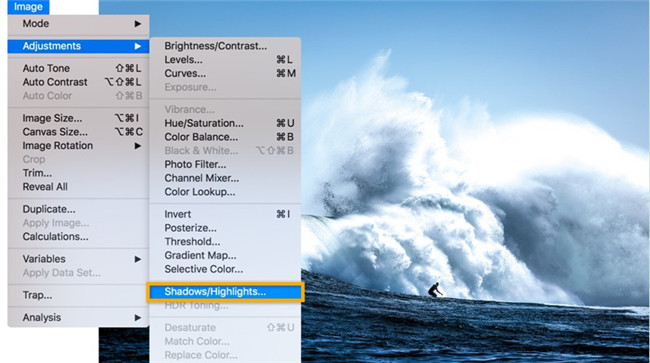
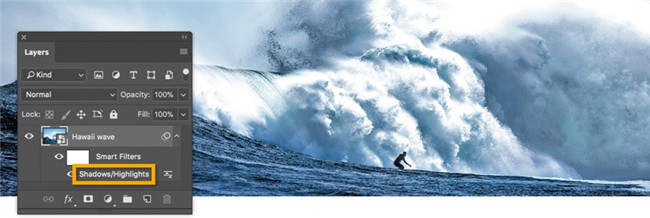
Step 2: Select the tab of “Image > Adjustments > Shadows/Highlights” to invoke the settings panel to adjust over- or underexposed areas of an image.
Step 3: You can then drag the Shadows slider to brighten underexposed regions hidden by dark shadows. The Preview feature allows you to compare the effects before and after the adjusting. By dragging the Highlights slider up, you can bring back the details of a region that’s too bright. Click “OK” to confirm your settings. You can also choose the “Show More Options” tab to use more settings to adjust the exposure accurately.
The method to use adjust exposure in Photoshop is not hard to handle at all. You can give it a go and get correct image exposure. The photo effects will be much better after the adjustment with this great enhancer.
Part 4: How to Easily Adjust Exposure with Leawo PhotoIns?
Apart from Photoshop, you can also take advantage of another wonderful piece of photo enhance to adjust exposure easily. Leawo PhotoIns is able to optimize your images automatically and instantly. With the assistance of this powerful AI photo enhancer, the underexposed areas and overexposed areas will be detected, and then you can apply the adjusting bar & settings to make the highlights and shadows of your pictures look more comfortable. The interface of this tool is easy and friendly. The following instructions will tell you how to make full use of Leawo PhotoIns to obtain photos with better exposure and make your photos clear with just several clicks.
Step 1: Download Leawo PhotoIns
Navigate to the official website of Leawo PhotoIns and download the software for free. Install it on your computer and prepare to use it simply.
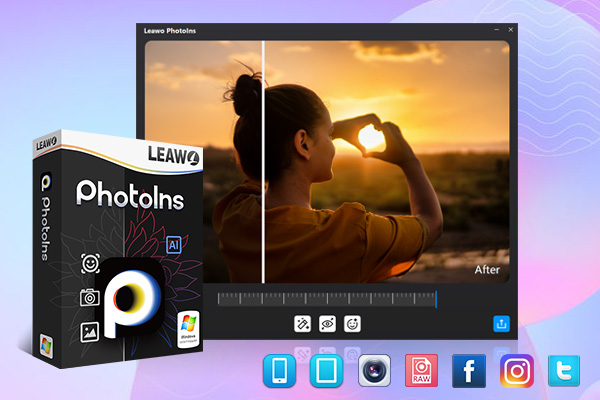
-
Leawo PhotoIns
- Enhance portrait photos easily with advanced AI technology
- Fix photo exposure and white balance issues automatically
- Optimize photo colors and perfect photo tints
- Make photos perfectly clear with smart dehaze
- Boost photo lighting and color quality
- Process RAW and JPG files
Step 2: Add photos with poor exposure
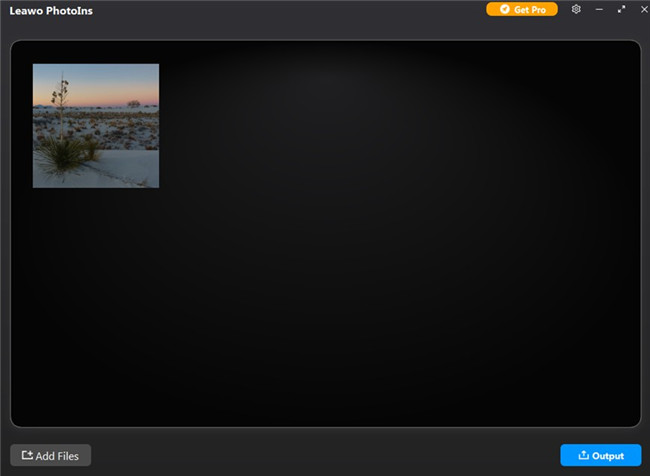
Run Leawo PhotoIns and then hit on the button of “Add Photo” to load pictures with poor exposure into the software.
Step 3: Adjust photo exposure
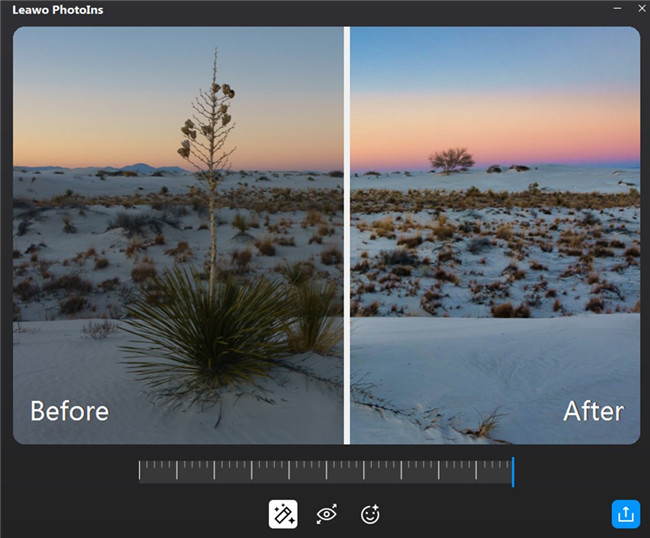
You can double click on the imported photo to call out the preview interface to check the exposure effect of your photo after intelligent adjustment of the program. You can use the effect adjuster bar located under the photo to make a specific enhancement. You can drag the bar to the left or to the right to get the proper effect you would like to apply. This software also allows you to process photos in batch. You can transfer your photos from iPhone to computer for further enhancement with this app conveniently. For accurate photo transferring from iPhone to computer, you can turn to Leawo iTransfer for assistance, for this tool is quite powerful in finishing various transfer tasks quickly and safely.
Step 4: Output photos
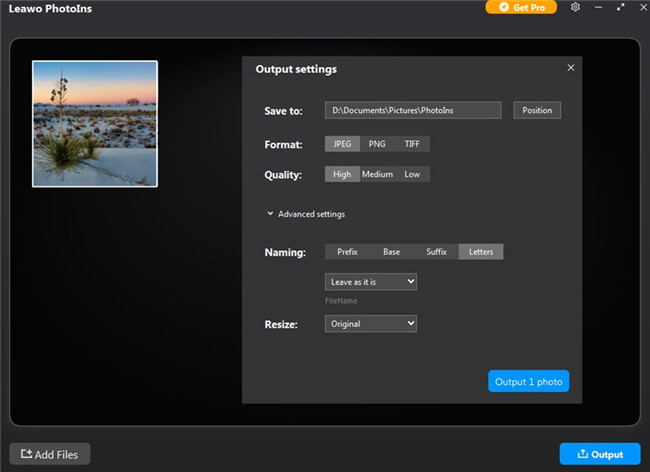
After the photo AI enhancing is finished, you can hit on the “Output” button at the bottom right of the interface to invoke the “Output settings” panel. Here you can finish some output settings like output directory, format, quality, name and size. Finally, you can hit on the blue “Output photos” button to export all enhanced pictures to your computer folder that you have just set.


 Try for Free
 Try for Free

